Add a new Report
Video Guide
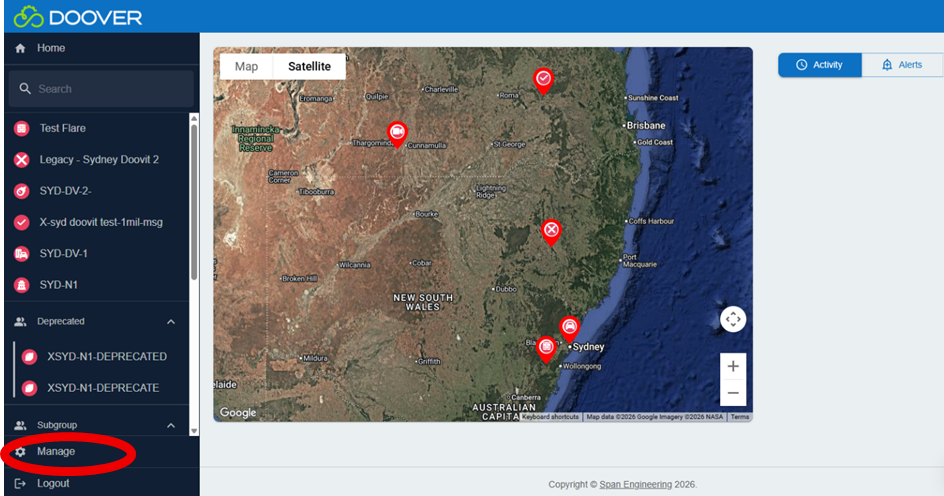
Step 1: Click the Manage button
Starting on the Home Page.
Find the 'Manage' button on the control panel on the lefthand side of the screen. Click the Manage button to open the menu and access the options below it.
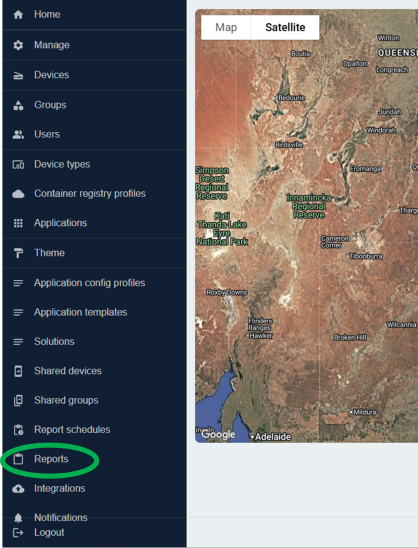
Step 2: Click the "Reports" button
Under "Manage" you will find the option "Reports". Click on Reports, the page will change.
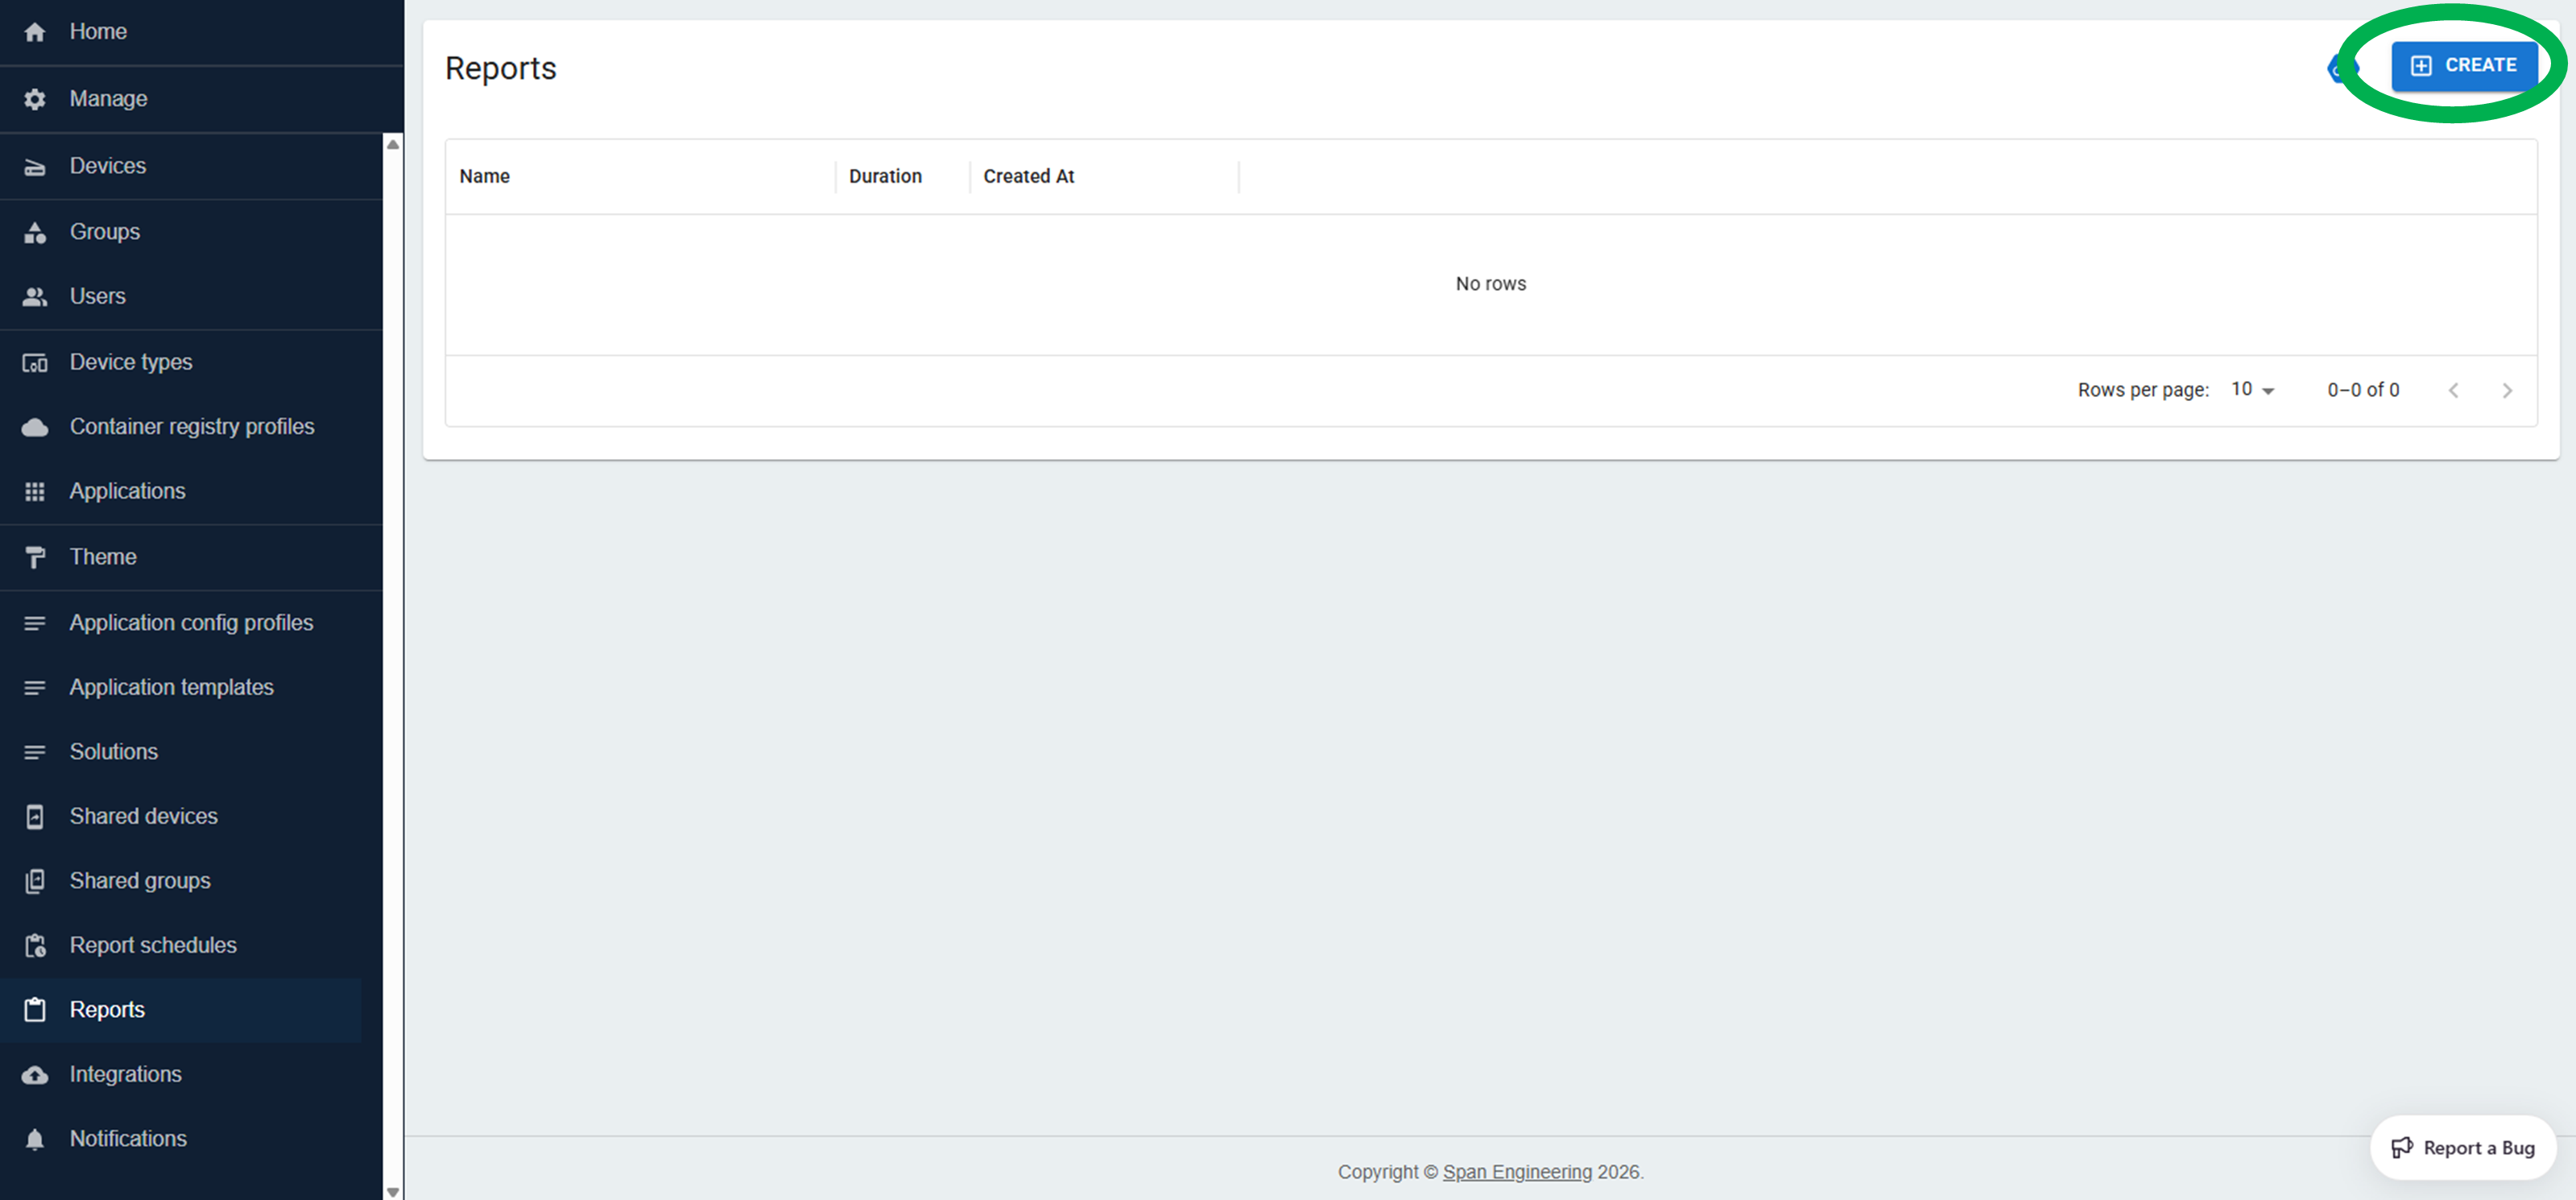
Step 3: Click the blue 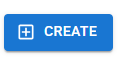 Button
There will be a blue button on the top righthand corner titled "+ Create".
Step 4: Fill in the report details
For more information on the fields, see the reports page. Start by filling out the name of the report, and then specify the period of time that you wish to create the report for.
Next, select the devices which you wish to create the report for, and list out any emails that you wish to send the report to.

Step 5: Save the report
Once you've filled in the report details, click the "Create" button. The report will take a few minutes to generate, and will then be available to download from the reports section of the management portal once the tick is green in the reports list view.